How to install Python with pyenv on Fedora 43
In this tutorial you will learn how to install Python with pyenv on Fedora 43, switch between multiple Python versions and use pyenv with virtual environments step-by-step.
Introduction to pyenv
pyenv can be used to install and switch between multiple Python versions. It compiles and installs each version in its own directory under your home folder, which means it doesn’t touch any of the Python binaries in the /usr/bin or /usr/local/bin.
Step 1: Install package dependencies and build tools for pyenv
pyenv compiles and installs Python from source, so install the package dependencies, build tools and libraries first:
sudo dnf install -y git gcc make patch zlib-devel bzip2 bzip2-devel \
openssl-devel readline-devel sqlite-devel libffi-devel xz-devel \
tk-devel tcl-devel gdbm-devel ncurces-devel python3-tkinter \
libX11-devel libXext-devel libXft-devel libXrender-devel wget \
curl llvm libuuid-devel libnsl2-devel

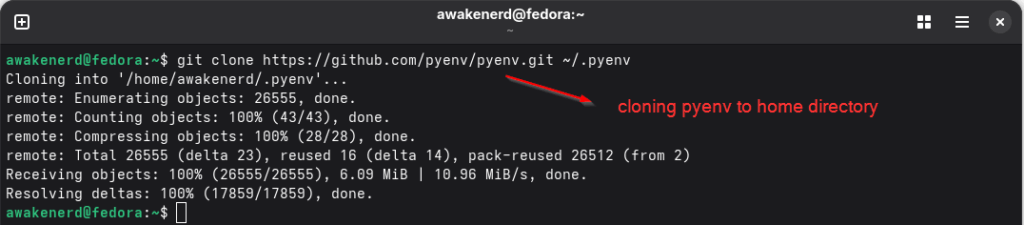
Step 2: Clone pyenv from Github to your home directory on Fedora 43
Now that you downloaded the required packages to compile Python from source, install pyenv:
git clone https://github.com/pyenv/pyenv.git ~/.pyenv
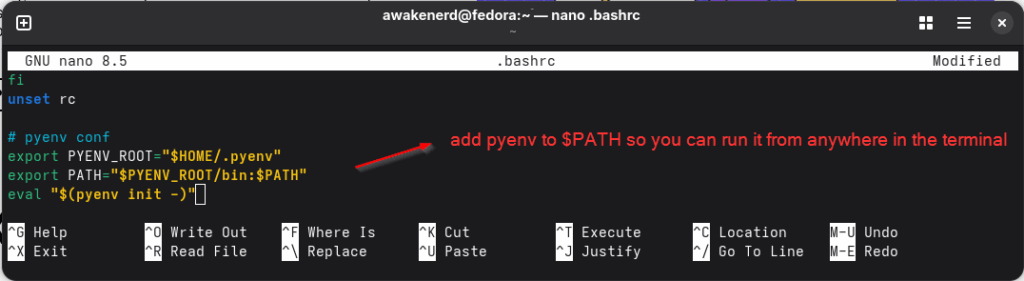
Step 3: Include pyenv to $PATH
In order for your to run pyenv on the terminal, include pyenv to $PATH in your .bashrc file. Open .bashrc with nano:
nano .bashrc
Write the following at the end of the .bashrc file:
export PYENV_ROOT="$HOME/.pyenv"
export PATH="$PYENV_ROOT/bin:$PATH"
eval "$(pyenv init -)"
Press CTRL + O to write the changes to .bashrc. Then CTRL + X to exit the nano editor.
Step 4: Source the .bashrc file
Source the .bashrc file for the changes to take place:
source .bashrc

Step 5: Check pyenv version on Fedora 43
Verify pyenv is installed and works on Fedora 43:
pyenv --version

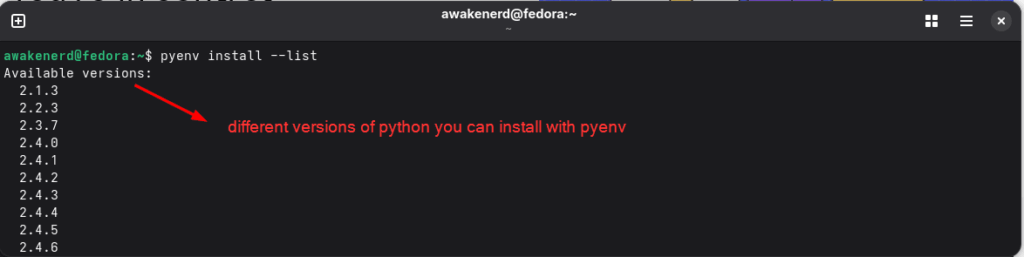
Step 6: List Python versions you can install with pyenv
List all the versions of Python you can install with pyenv on Fedora 43:
pyenv install --list
Step 7: How to install Python with pyenv on Fedora 43
With pyenv you must specify the full version of the Python you want to install. Install multiple Python versions with pyenv on Fedora 43:
pyenv install 3.10.16
pyenv install 3.12.6

Step 8: List Python versions installed with pyenv
List Python versions installed with pyenv:
pyenv versions

Step 9: Set a default Python with pyenv
Set a global Python with pyenv:
pyenv global 3.12.6

Change the default Python with pyenv:
pyenv global 3.10.16
Step 10: Check the default Python version after pyenv global
Now check which Python Fedora 43 is using as the default one:
which python

As you can see from the above screenshot pyenv doesn’t touch Python versions in /usr/bin or /usr/local/bin.
Step 11: Unset global Python with pyenv
To reset Python to the Fedora system’s default with pyenv type:
pyenv global system
Step 12: Use pyenv with Python virtual environments
Use pyenv with virtual environments on Fedora 43:
cd ~/project
pyenv local 3.12
python -m venv project_env
source project_env/bin/activate

Step 13: Uninstall Python with pyenv
Uninstall a Python version with pyenv:
pyenv uninstall 3.12.6

Remove the build cache:
rm -rf $(pyenv root)/sources/3.12.6
Final thoughts
Through this tutorial you learned how to install Python with pyenv on Fedora 43. You also learned how to use pyenv with Python virtual environments to avoid package and dependency conflicts.

1 thought on “How to install Python with pyenv on Fedora 43”